Blog Description
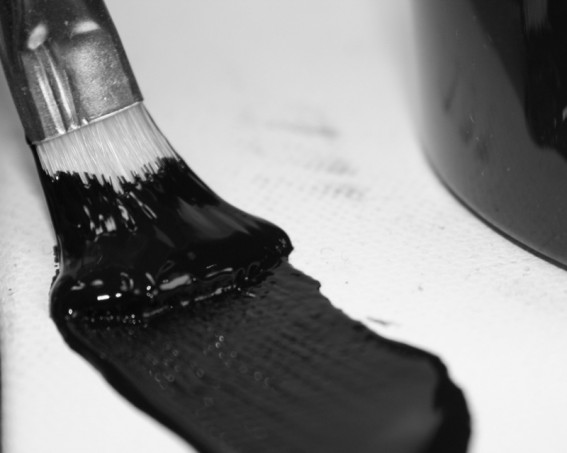
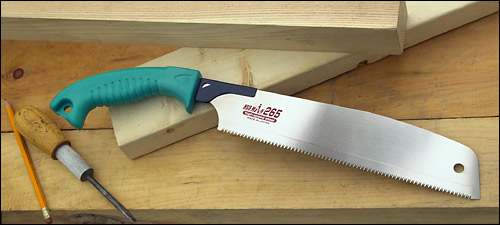
When I first started this project I gathered all of my materials which were: thick veneer, ¼ inch MDF, ¾ inch MDF, wood burning tool, staple gun. I stared with the thick veneer and cut a 20x20 inch sheet and did the same thing with the ¾ MDF. After cutting the 2 sheets with the table saw I stapled to two together with the staple gun. The reason I did this was so that my artwork would be durable and would be able to have with stand any damage done to it. After putting the two sheets together I added a ¾ inch thick piece that was 1 ¼ inch wide to the edge of the 20x20 board. I did this so that the art work would have thickness to it so that it would look better. After finishing the edges I added a ¼ inch MDF piece to the top that had a 1 ¼ inch width. This was done so that I would have a board for the art work. All of these pieces were cut with the table saw and put together with the staple gun. After putting everything together there was still some extra MDF left on the side of each edge and by using a tool called the Japanese Saw I was able to cut all of the access off and make everything flush to one another. After all of that I decided to paint the boarder black so that my artwork would pop out more. I used the acrylic black that was in class and added 3 layers so that it was as dark as possible.
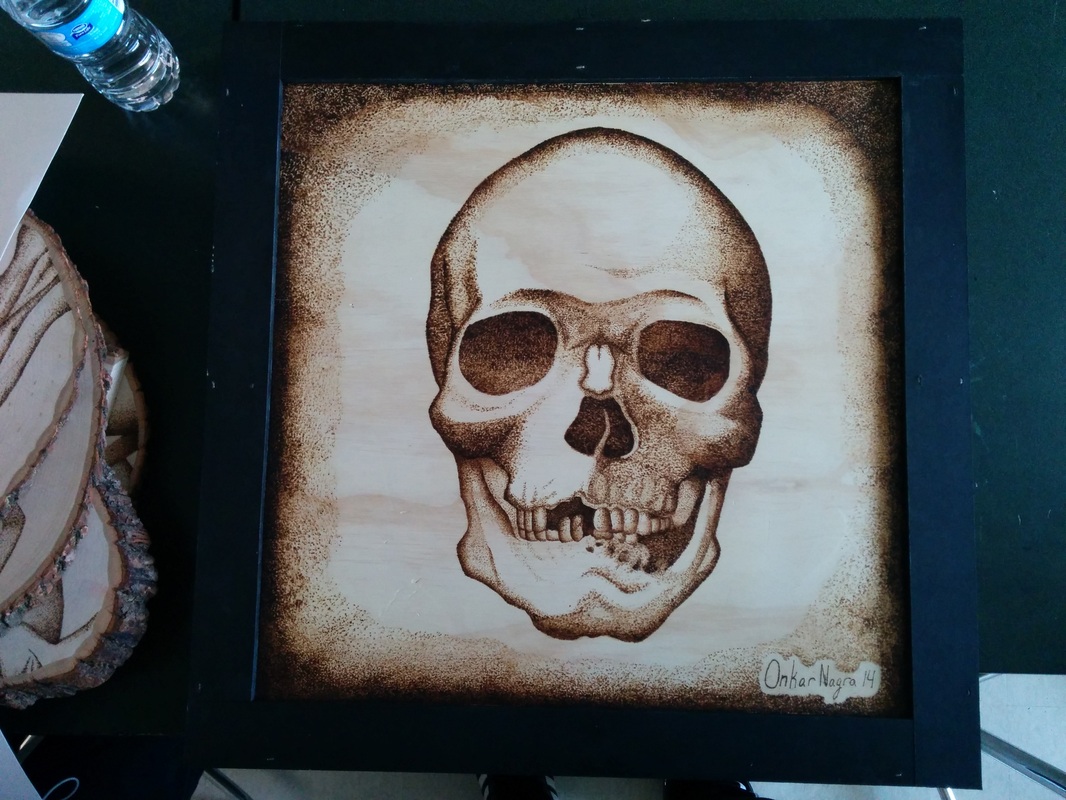
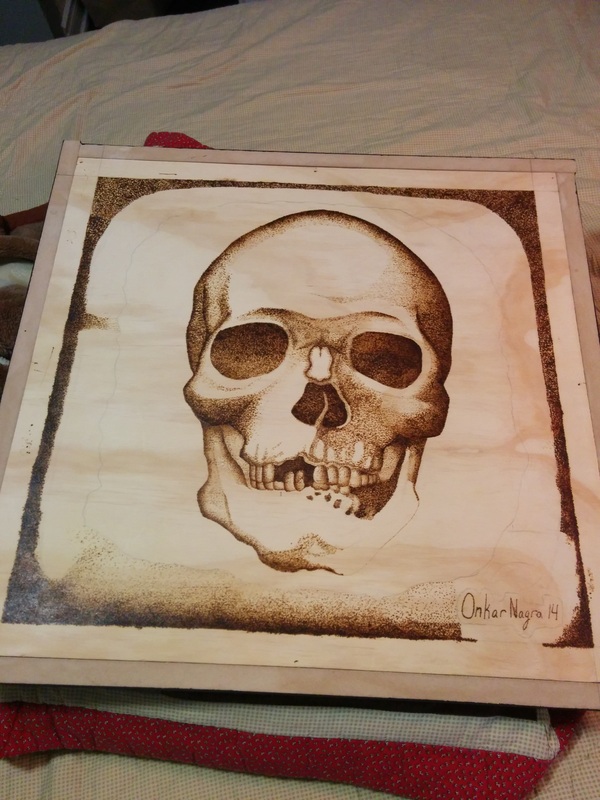
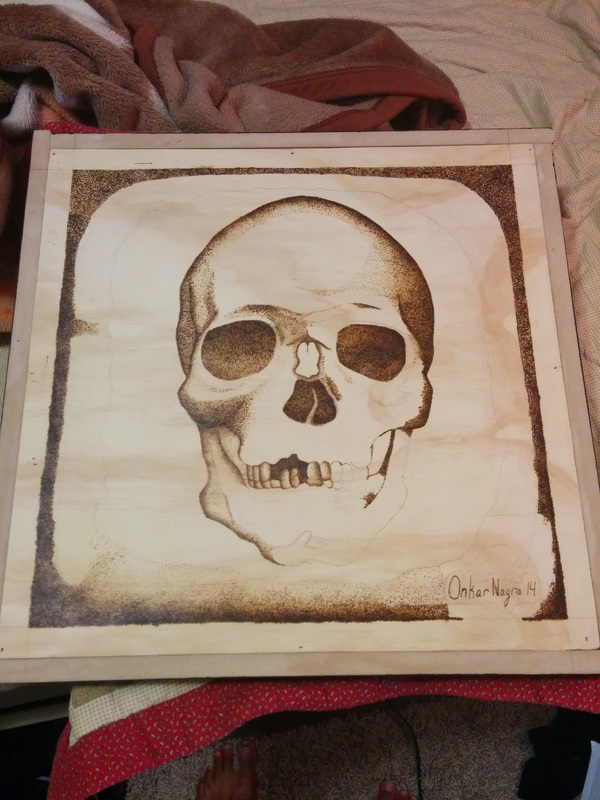
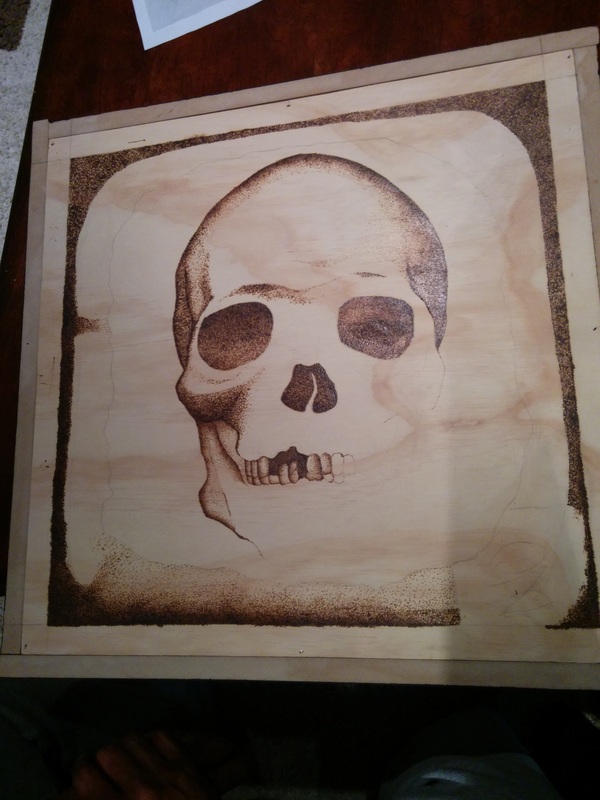
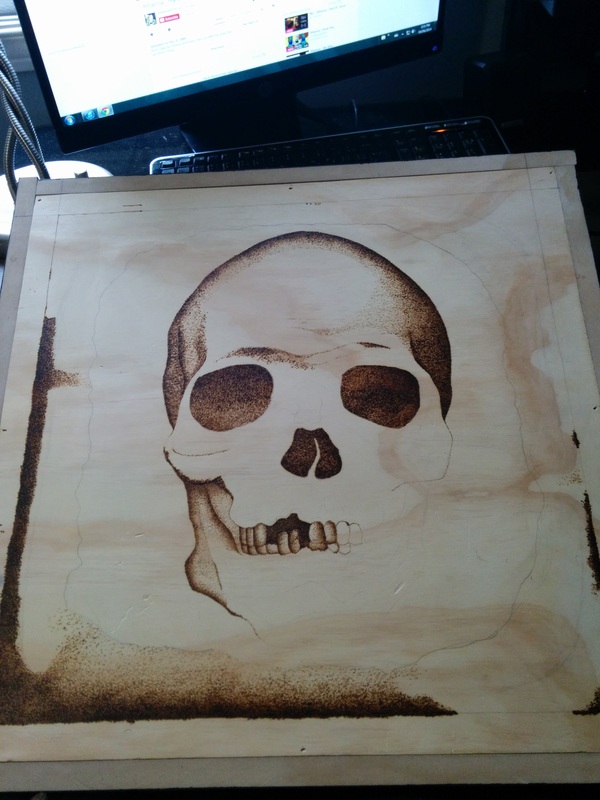
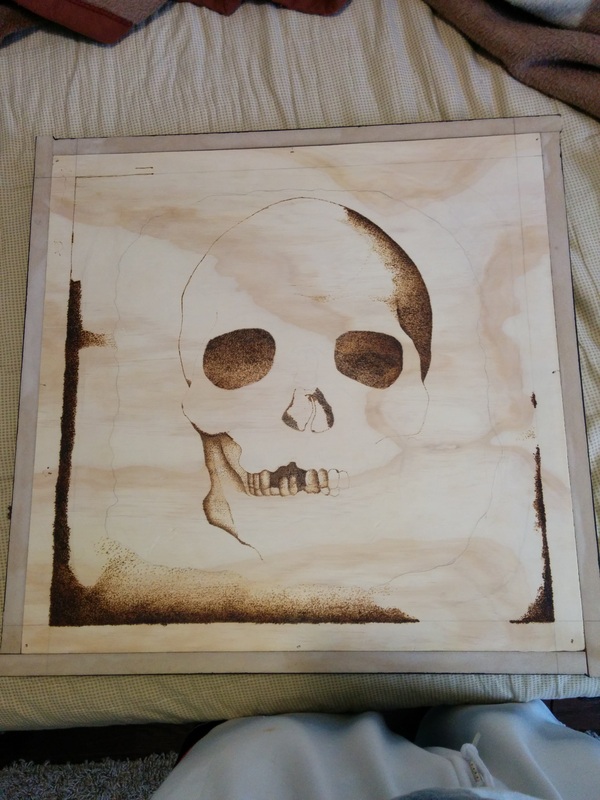
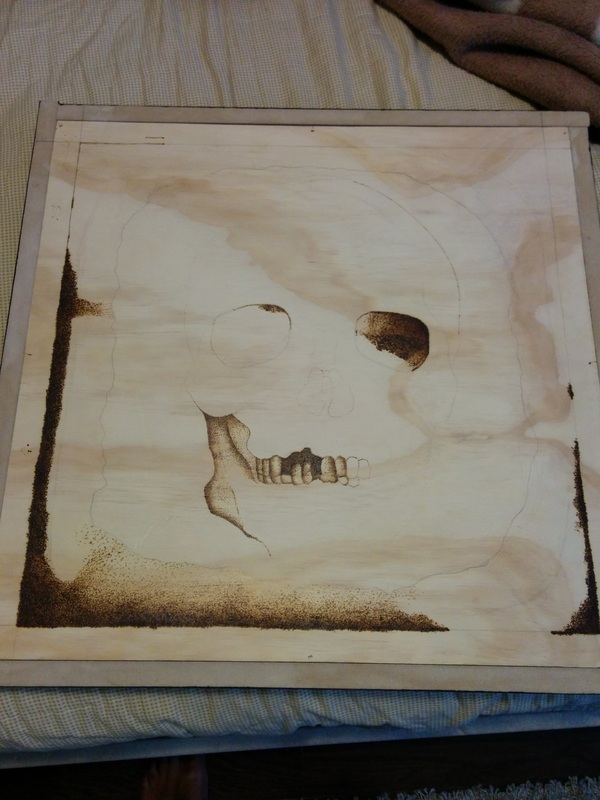
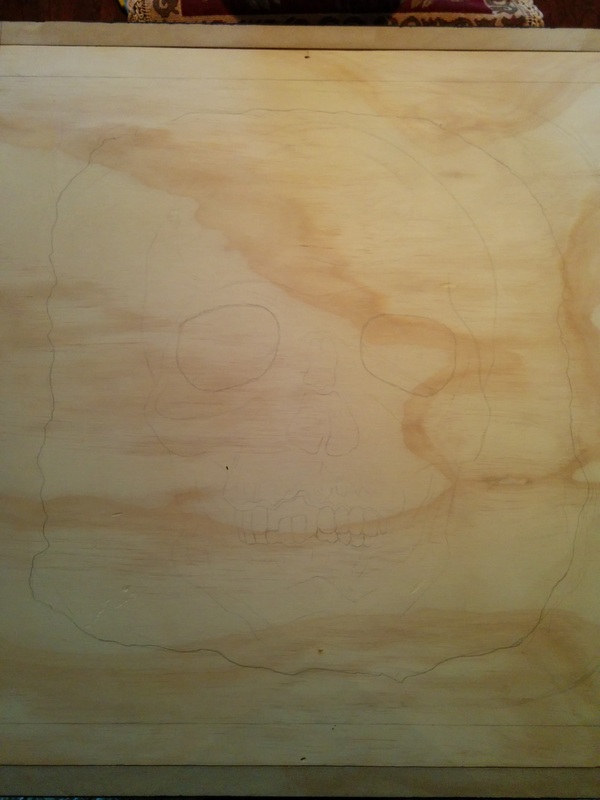
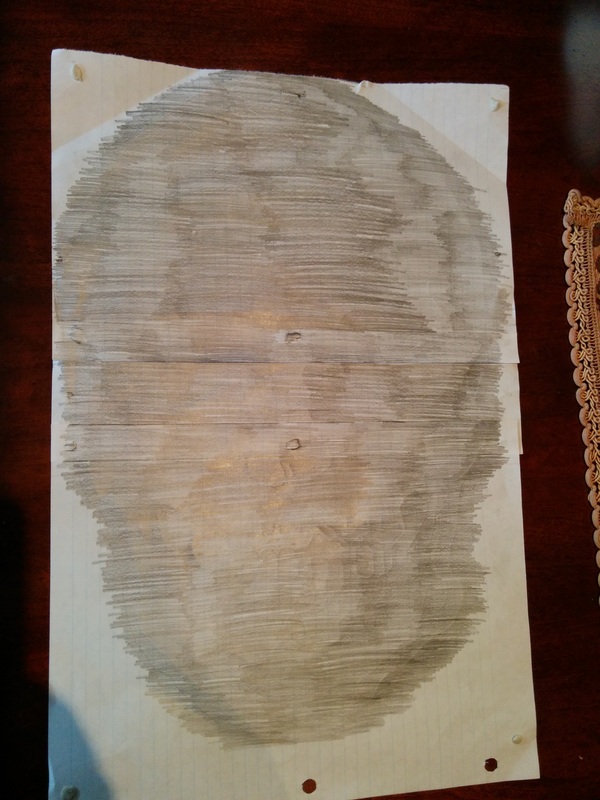
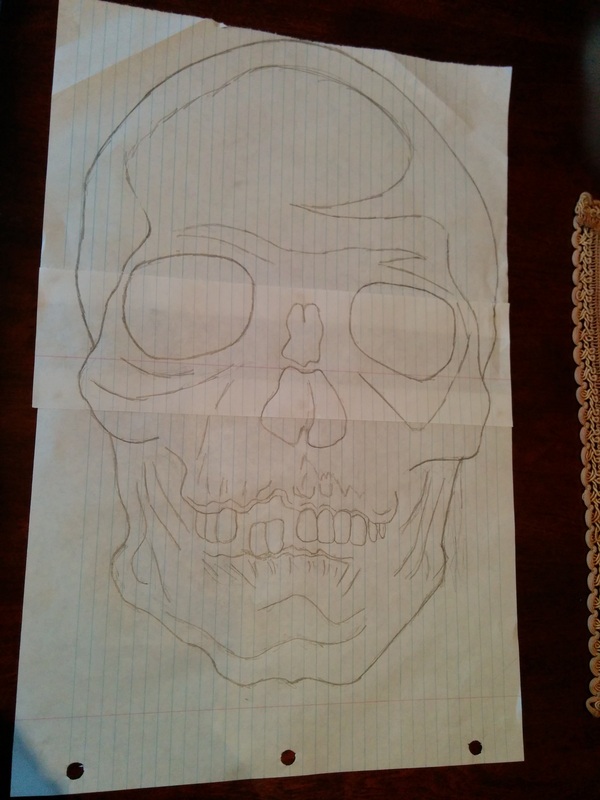
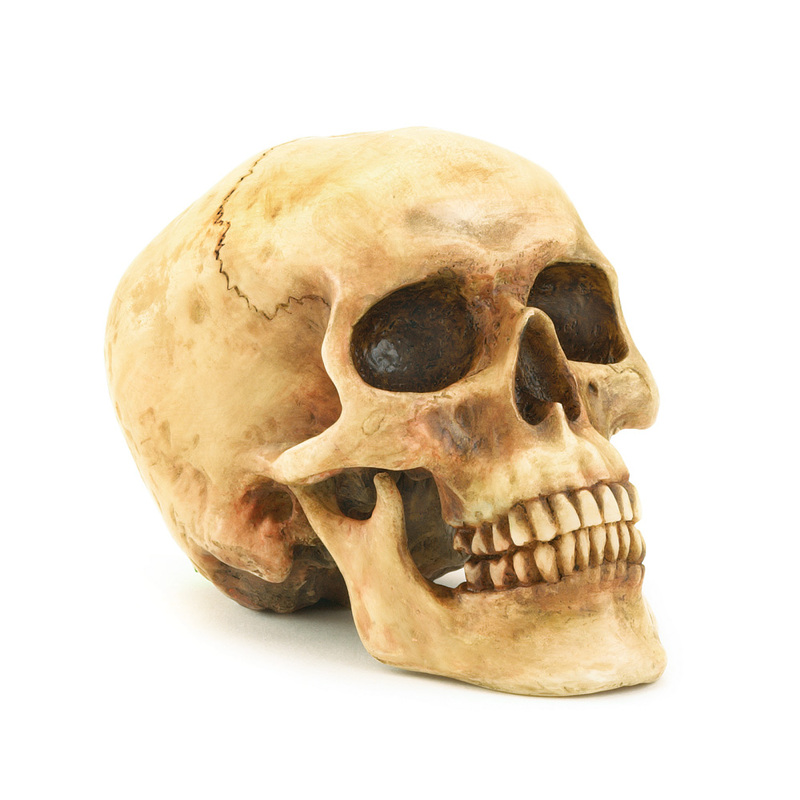
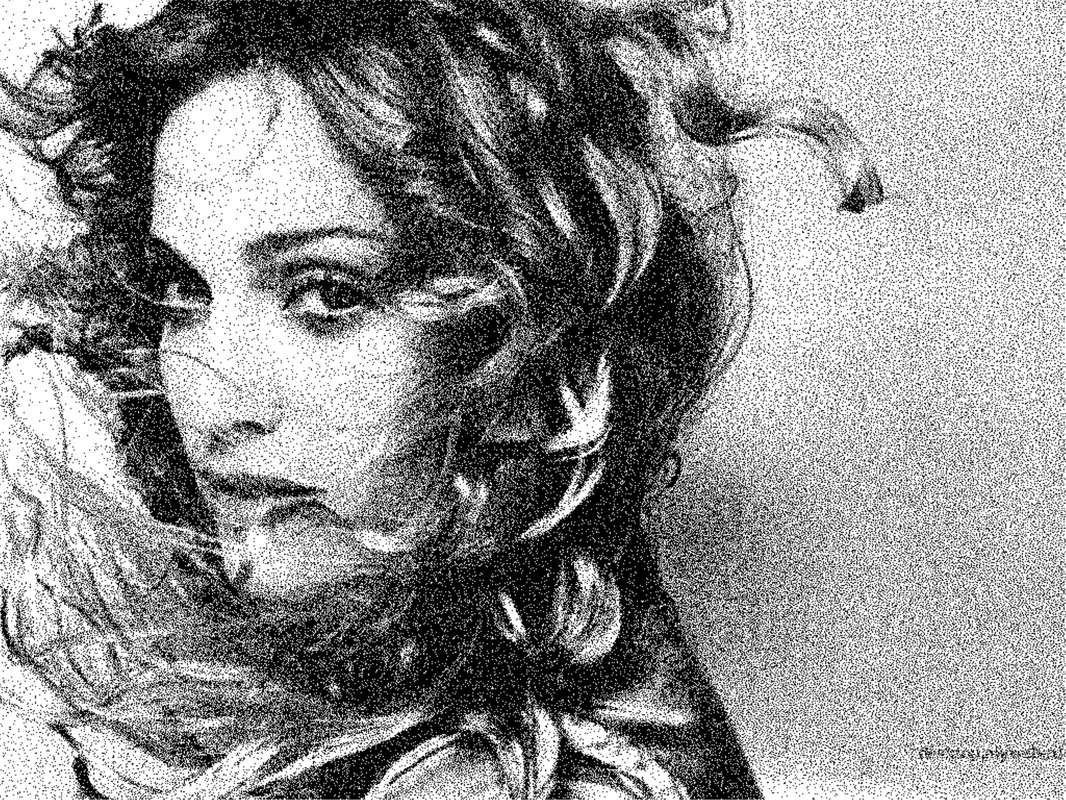
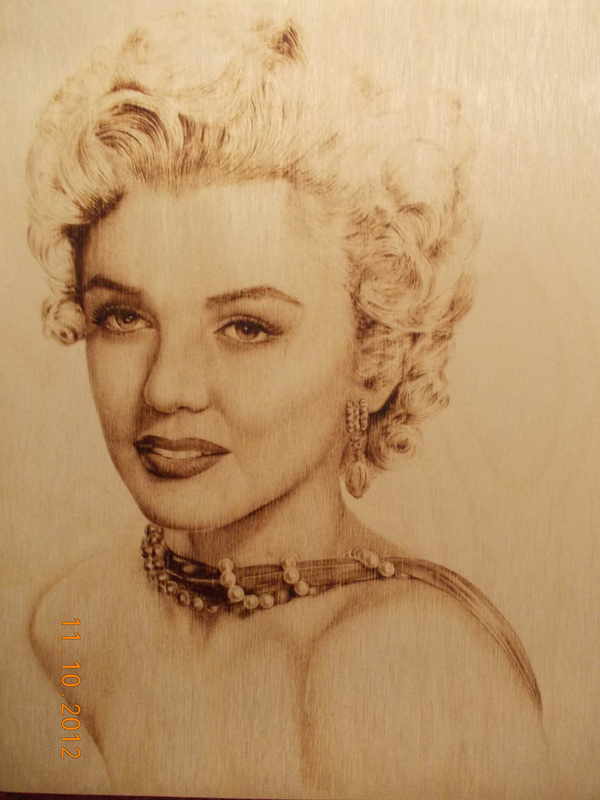
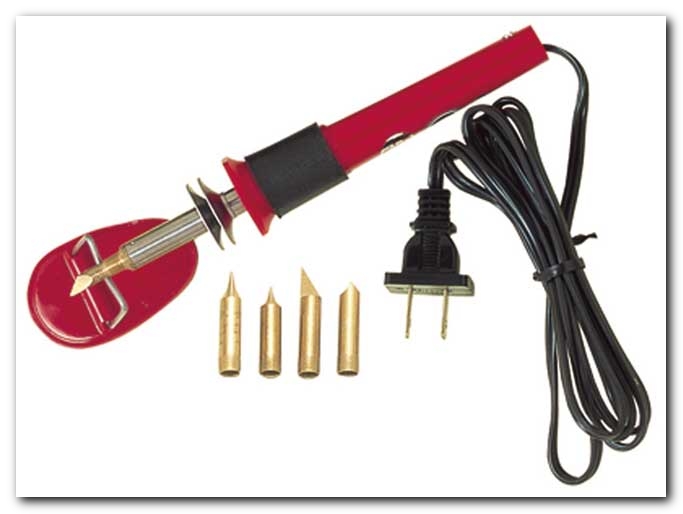
I started off by measuring the diameter of the artwork and used 4 pieces of paper to make a rough copy of what I wanted to put on the piece. I choose to do a skull and made a sketch of it on the paper. After making the drawing as accurate as possible I did a graphite transfer by putting graphite on the back of the paper and traced it on to the veneer artwork. When finished tracing I stared to burn the veneer wood with the wood burning tool. I choose to used stippling as the technique of choice when working on this because I feel that I have enough experience with it by working on the piece in the other class and it gives a very nice effect on the work. I started on the edges of the veneer beside the boarder. I stippled as dark as possible so try to match the black boarder and slowly faded the dark to lights. When I was working on the skull I used 2 different tips that were attached to the wood burning tool. One of the tips were very thin and I used this one for the small areas such as the teeth and the side of the jaw. I also used this one when I was doing the light parts of the art work such as the inside of the stippling boarder. The other tip was a bit thicker and I used that one to hit the darks and to finish the work big dark areas faster. Areas such as the eyes and cheeks. I chose the light source to be on the left side facing the skull. I was able to make the happen by making sure I hit the darks on the right side of the face and a bit on the left cheek and jawline. When I was stippling the skull I started off by stippling all of the dark areas of the skull such as the edge and the eyes. Then I worked around those area and started to blend the darks to the lights.
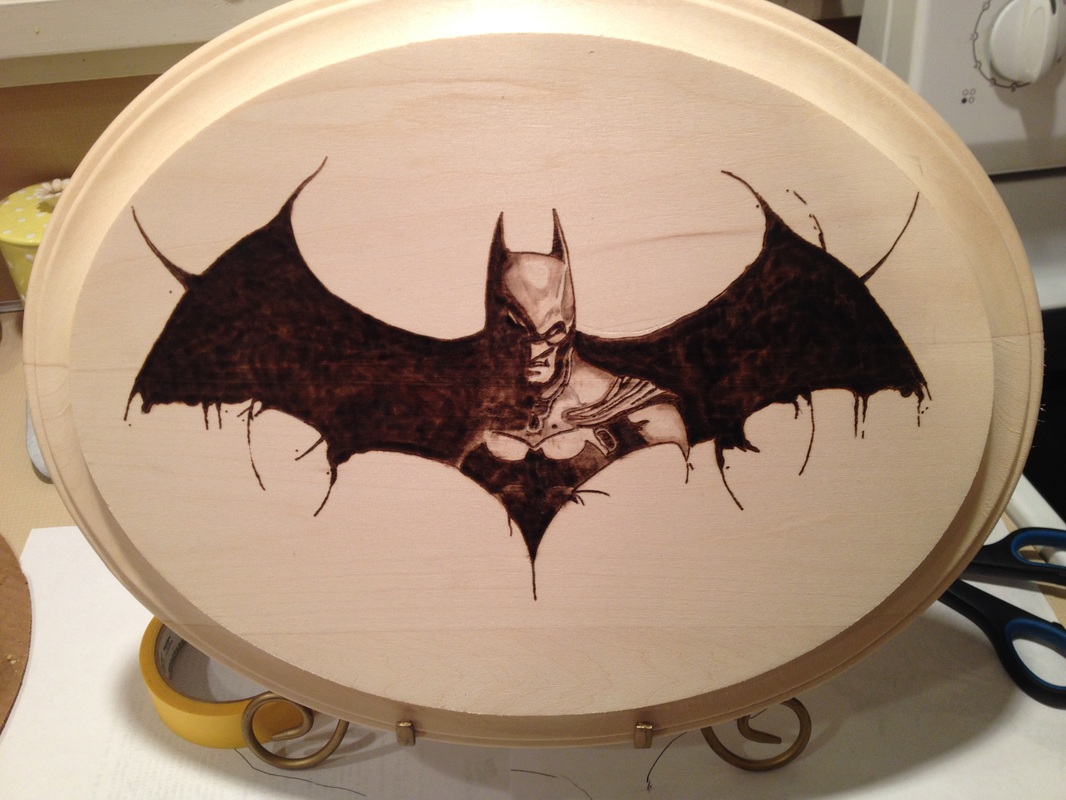
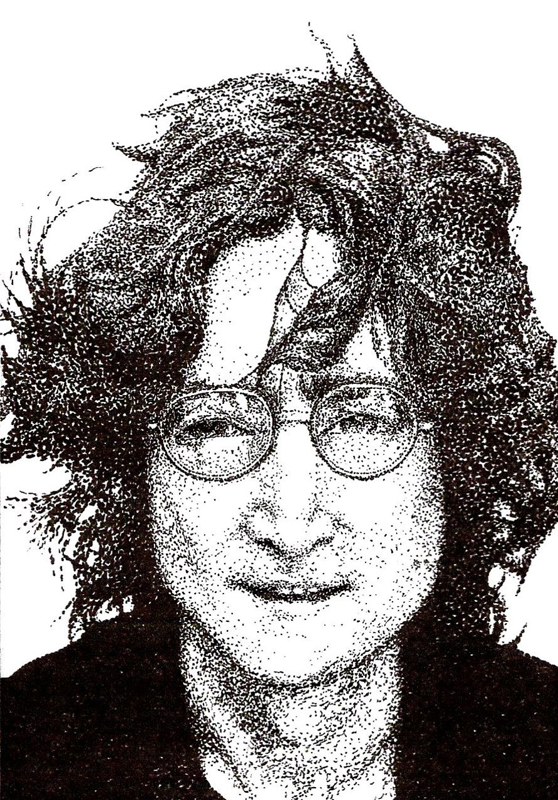
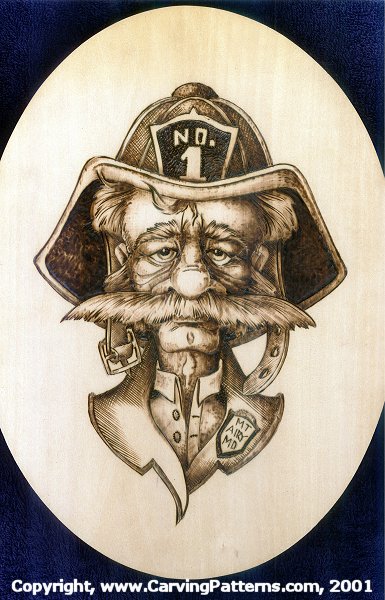
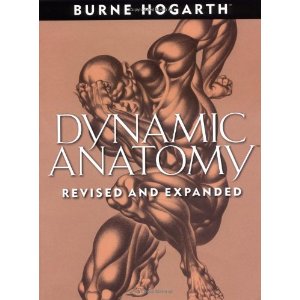
I used many things as inspiration and to help my work become better. Such as Dynamic Anatomy by Burne Hogarth. It is a book showing human anatomy and pictures of different angles of body parts. The detail in each picture is amazing and really helped me on my work by showing me where to add shadows and darkness to make the piece on 3 dimensional. Another book I used to inspire me was Pyrography Workbook by Sue Walters. This book was about wood burning in generally. It have everything from the type of tips to how to make different textures by applying different techniques. I also used Google to look at different pictures of wood burning artwork, stippling artwork and different angles of skulls to make the best work possible.
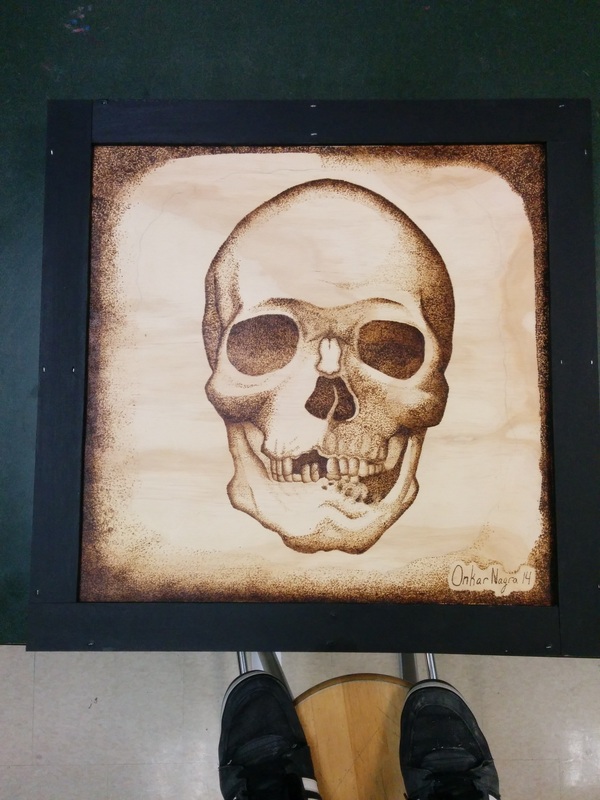
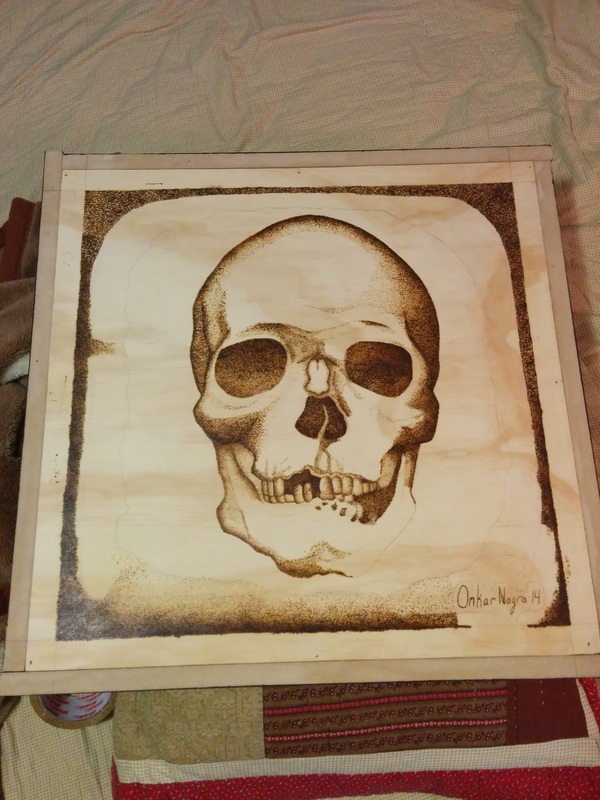
I started off by measuring the diameter of the artwork and used 4 pieces of paper to make a rough copy of what I wanted to put on the piece. I choose to do a skull and made a sketch of it on the paper. After making the drawing as accurate as possible I did a graphite transfer by putting graphite on the back of the paper and traced it on to the veneer artwork. When finished tracing I stared to burn the veneer wood with the wood burning tool. I choose to used stippling as the technique of choice when working on this because I feel that I have enough experience with it by working on the piece in the other class and it gives a very nice effect on the work. I started on the edges of the veneer beside the boarder. I stippled as dark as possible so try to match the black boarder and slowly faded the dark to lights. When I was working on the skull I used 2 different tips that were attached to the wood burning tool. One of the tips were very thin and I used this one for the small areas such as the teeth and the side of the jaw. I also used this one when I was doing the light parts of the art work such as the inside of the stippling boarder. The other tip was a bit thicker and I used that one to hit the darks and to finish the work big dark areas faster. Areas such as the eyes and cheeks. I chose the light source to be on the left side facing the skull. I was able to make the happen by making sure I hit the darks on the right side of the face and a bit on the left cheek and jawline. When I was stippling the skull I started off by stippling all of the dark areas of the skull such as the edge and the eyes. Then I worked around those area and started to blend the darks to the lights.
I used many things as inspiration and to help my work become better. Such as Dynamic Anatomy by Burne Hogarth. It is a book showing human anatomy and pictures of different angles of body parts. The detail in each picture is amazing and really helped me on my work by showing me where to add shadows and darkness to make the piece on 3 dimensional. Another book I used to inspire me was Pyrography Workbook by Sue Walters. This book was about wood burning in generally. It have everything from the type of tips to how to make different textures by applying different techniques. I also used Google to look at different pictures of wood burning artwork, stippling artwork and different angles of skulls to make the best work possible.